How to Fish Albatross — The Terrorizing Bird
The only airborne boss in the game. A shotgun is the wrong tool here.
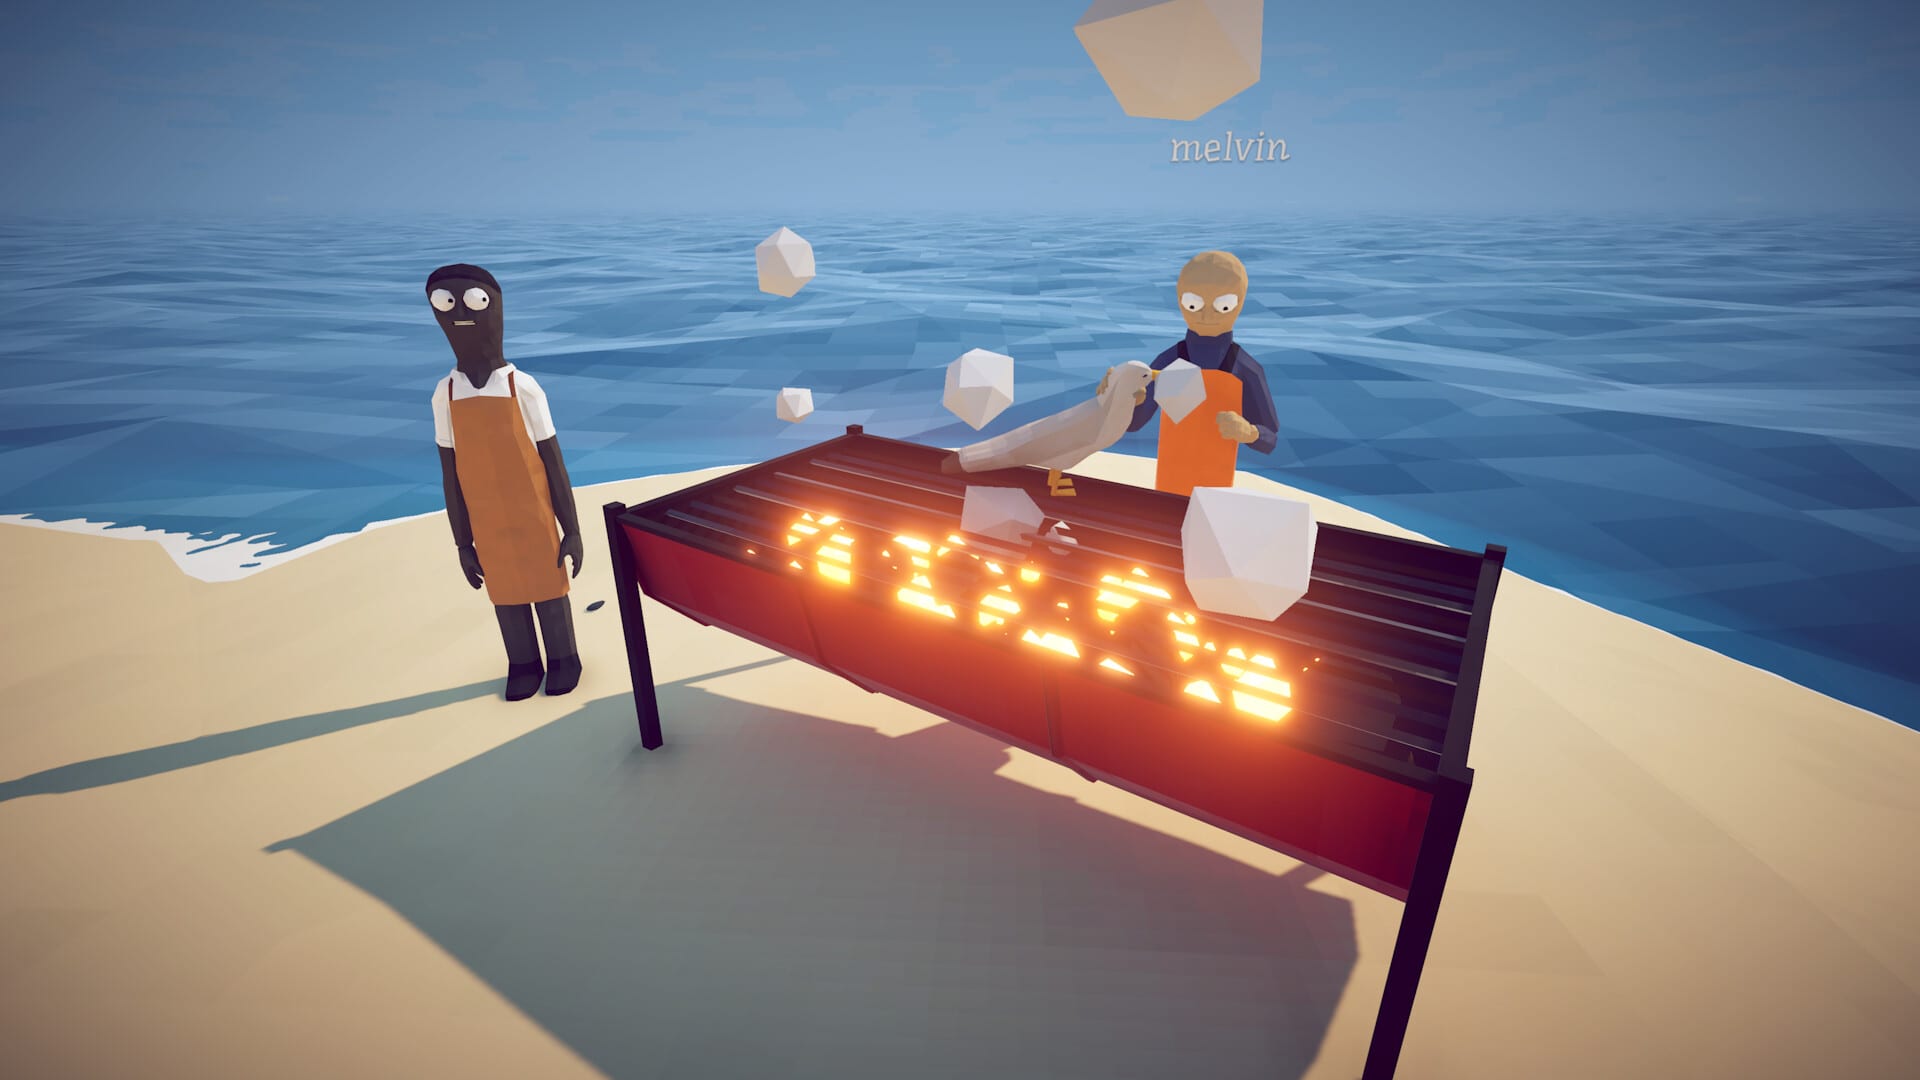
The Albatross — the terrorizing bird the islanders hide from — is the fourth story boss in How to Fish and the fight that opens the military and volcano route. It is the odd one out in the boss list because it never touches the ground for long. Every habit that carried you through the Spider Crab, Piranha, and Pufferfish is wrong here: there is no charge to sidestep and no stun window on land.
It is also a two-stage encounter. You cannot summon the bird directly. You have to kill a Tuna first and leave the body out as bait, which makes the Tuna a mandatory mini-boss rather than an optional one.
Step one: kill the Tuna
Buy the Professional Boss Lure, which runs about $1,200 on the Rocks island. That is a real expense at this stage, so bank a couple of good selling trips first — Money-Making and Fish Prices cover the fastest loops.
Cast the Professional Boss Lure and the Tuna comes up as a mini-boss. It charges in a straight line like the earlier ground bosses, but the Rocks island is small and there is very little room to kite, so extra bullet upgrades matter more than fancy footwork. A shotgun at close range answers the charge cleanly. Dodge, dump, repeat.
When the Tuna dies, keep the body. Do not sell it and do not cook it. It is the bait for the next fight.
Step two: bait and kill the bird
Drop the dead Tuna on open grass near the shore and back away a few seconds. The Albatross swoops down for the corpse and the boss fight starts.
The bird stays airborne and fights at range. It dives, and it has a heavy drop attack that will remove most of your health in one connection. There is also a period where it circles far out and rains attacks down — that phase is for cover, not for damage.
Use a building. The casino and the boathouse both have doorways, and the working pattern is to fight from inside one: step out when the bird is committing or climbing after a dive, land your shots, then step back under the roof before the next dive resolves. Pistols and SMGs struggle badly at this range, so bring a sniper rifle if you can, or an Uzi as the fallback. Single accurate shots also pair well with the 360 no-scope multiplier described in Killscore, which turns this fight into a payday.
Eat between exchanges — cooked food from the grill is essential by now, per Cooking & Grill. If you are equipping a serious loadout for the endgame, this is the natural point to finish the four slots in Weapon Attachments.
Patch 1.0.10 fixed a soft-lock where dying to the Tuna, spawning the bird, and failing to respawn could brick a run, so make sure the game is updated before you attempt this. Patch notes are tracked in Updates.
Hand in the head
When the Albatross dies it drops the Albatross Head. Grab it out of the water before you do anything else — it can drift, and the volcano never appears on the Radar without it. Hand the head to the Island 4 NPC and the next coordinates are written.
Do not confuse this bird with the ordinary nuisance gulls that steal your items; those are handled in Seagull Combat. From here the route reaches the volcano and the Mutated Bowhead Whale. Local species are in Rocks Island, and the full chain is in the Walkthrough.