How to Fish Line Tension, Reel & Tension Management
The core fishing loop. When to pull, when to let drag, and why bosses ignore your skill level.
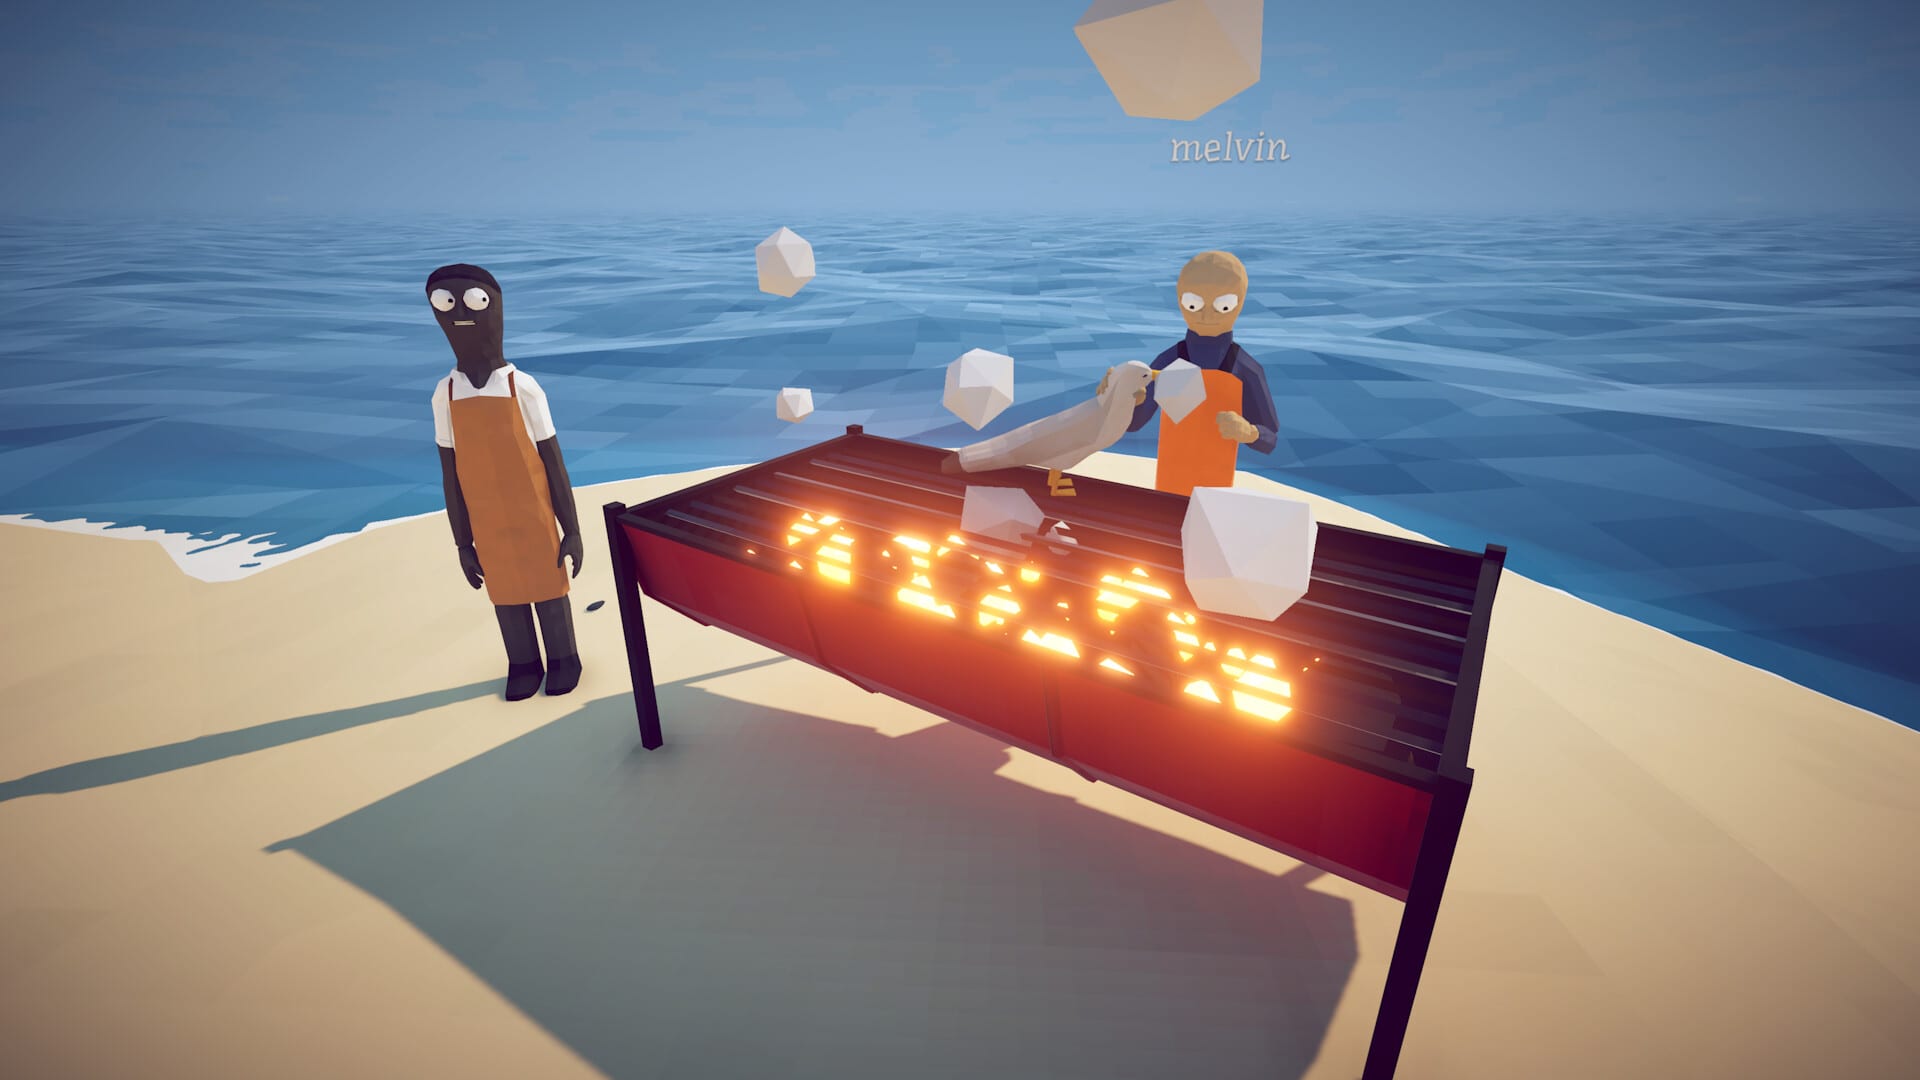
Line tension is the core loop that separates How to Fish from simple click-to-catch games. The tension meter tells you how close the line is to snapping. Boss encounters on Islands 4 and 5 will break your line in under two seconds if you lock the reel during a thrash phase. This page covers the mechanics through Patch 1.0.10.
The tension system simulates realistic fish fatigue. Reeling too aggressively when the meter is red snaps the line. Letting too much slack when a boss is pulling away lets the fish escape. The rhythm changes per encounter, but the underlying principle is the same: watch the water, not just the meter.
The Tension Meter
The UI shows a tension indicator when a fish is hooked. It runs from green to yellow to red:
- Green: Safe to reel. The fish is not pulling hard.
- Yellow: Caution zone. The fish is exerting effort. Reel carefully.
- Red: Danger zone. The line will snap if tension stays here. Release the reel and let drag absorb the pull.
Boss fish spend most of their encounter in the yellow and red zones. This is normal. The mistake is treating red like a problem to solve by reeling harder. Red means let go.
The Pulse Technique
Instead of holding the reel button continuously, experienced players tap it rhythmically:
- Watch the fish’s swimming animation and the tension meter.
- When tension drops to green or low yellow, tap the reel to bring the fish closer.
- When tension climbs toward red, release and let the drag system absorb the pull.
- Repeat until the fish exhausts its stamina bar.
Boss encounters on Islands 4 and 5 have multiple stamina bars. A boss that looks exhausted can trigger a second wind — a violent pull that will snap a locked reel. Watch the water churn, not just the meter. When the water starts thrashing aggressively, release immediately.
Boss Tension Patterns
Each boss has distinct tension phases:
| Boss | Island | Key Tension Moment |
|---|---|---|
| Spider Crab | 1 | Single strong pull after the shell breaks |
| Giant Piranha | 2 | Sustained mid-range pull, occasional bursts |
| Blue Shark | 3 | Long steady pull, short rest windows |
| Pufferfish | 3 | Poison trail forces movement; tension windows are short |
| Tuna | 4 | Two stamina bars; second wind is violent |
| Albatross | 4 | Aerial — tension spikes when it dives |
| Bowhead Whale | 5 | Very long pulls; lava phase adds heat damage |
| Mutated Bowhead Whale | 5 | Two-phase fight; second phase is harder |
Line Upgrades
Starting gear is monofilament line. It handles Islands 1 and 2 fine. By Island 3, consider upgrading to braided line if available in the shop:
- Monofilament: Standard tension tolerance. Fine for Islands 1–3.
- Braided line: Higher tension tolerance. Mandatory for Islands 4 and 5.
Patch 1.0.10 does not add a new line tier. The upgrade path remains as documented at launch.
Auto-Reel Warning
The game includes an auto-reel accessibility option. Do not use it during boss fights on Islands 4 and 5. The AI cannot react to the sudden directional changes of abyssal bosses. It will consistently snap your line during second-wind pulls.
For normal catches on Islands 1–3, auto-reel is safe. For anything with a named HP bar, manual control is required.
Common Mistakes
- Panic-reeling: Locking the reel during a red tension spike because the fish feels close. The snap sends the fish away.
- Over-reeling in yellow: Reeling continuously in yellow instead of pulsing. Gradual buildup leads to a snap.
- Ignoring second winds: A boss that looks exhausted suddenly pulls hard. Release on visual cues, not just the meter.
- Auto-reel on bosses: The accessibility feature works for trash catches, not named encounters.
- Wrong line tier: Using starting line on Island 5 guarantees snaps regardless of technique.
Co-op Tension
In co-op, one player manages the rod while others handle combat. Communication matters:
- Call out tension spikes so shooters know to pause.
- If the fish is close to snapping, call for help rather than forcing it.
- Different players can take turns on the rod during long encounters.
Patch 1.0.10 saves ground items up to 64 objects, so a snapped lure on the sand is recoverable after a quit if the pile was prioritized.
Related pages
- Boss Fights — tension during combat
- Fish Compendium — species by island
- Lures & Bait — bait determines pool
- Weapons — when to shoot vs reel
- Updates Hub — Patch 1.0.10 ground item saves